

I was looking for a more secure way to connect to my Ghost Blog Droplet to do maintenance or even simple file transfers, I came across OpenSSH .
OpenSSH is a connectivity tool for remote login with the SSH protocol. It encrypts all traffic to provide a secure channel over an otherwise unsecured network in a client–server architecture. It facilitate a suite of secure tunneling capabilities, authentication methods, and configuration options.
The OpenSSH suite contains the ssh-keygen utility, which is used to generate key pairs. We run it on our local computer to generate an RSA key pair.
So let’s get started. Open up a terminal window and type:
ssh-keygen -t rsa -b 4096
The type of key to be generated is specified with the -t option. If invoked without any arguments, ssh-keygen will generate an RSA key. The -b option is used to specify the number of bits in the key to create. Standard would be a 3072-bit key, but we want to bump this up a bit.
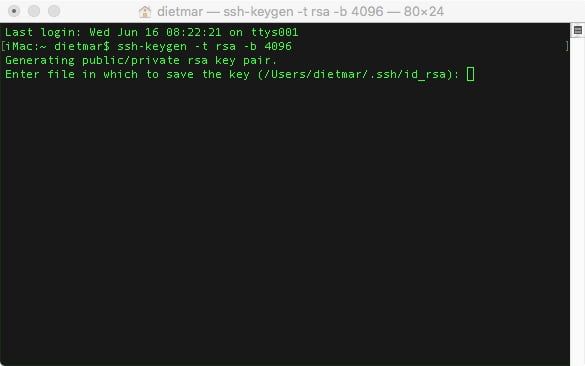
The utility prompts us to select a location for the keys. By default, the keys are stored in the ~/.ssh directory with the filename's id_rsa for the private key and id_rsa.pub for the public key. Using the default locations allows our SSH client to automatically find the SSH keys when authenticating, so we accept it by pressing ENTER.
Once we select a location for the key, we’ll be prompted to enter an optional passphrase, which encrypts the private key file. If we enter one, we will have to provide it every time we use this key. I personally bypass this prompt by pressing ENTER. If you want to use a passphrase, remember to generate one in your password manager of choice, mine would be 1Password .
This was the last step in this very simple creation process. We now have a public and private key that we can use to authenticate. From here, we can add / upload the key to a server we have SSH access to, or we can use it in an FTP-Client like Cyberduck to transfer files via SFTP.
I want to add this key to my Ghost blog Droplet using ssh-copy-id to upload the SSH key to the Droplet we created earlier.
ssh-copy-id root@167.172.228.71
This prompts me for the account’s password on the remote system. After typing in the password, the content of my ~/.ssh/id_rsa.pub key is added to the account’s ~/.ssh/authorized_keys file and I can now log in without a password using the ssh-key. You can add the same public key to multiple ssh connections, since the private key remains on your own machine.
"If you have built castles in the air, your work need not be lost; that is where they should be. Now put the foundations under them.”
Henry David Thoreau