You have a great idea for a blog or just want to share your thoughts with the rest of the world, to run a blog is something a lot of people are thinking of. Same for me. But is it complicated? What kind of platform do you turn to? Where do you want to host the blog? Right now, for me the answers is Ghost hosted on DigitalOcean ! I want you to join me in the journey to set up my blog you are reading right now.

Let's start by signing up with DigitalOcean.

I always recommend using two-factor authentication with the help of a password manager, my password safe of choice is 1Password .
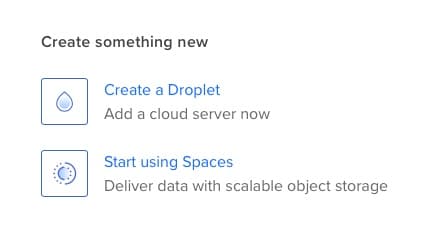
Once signed in, our next step is to create a droplet.
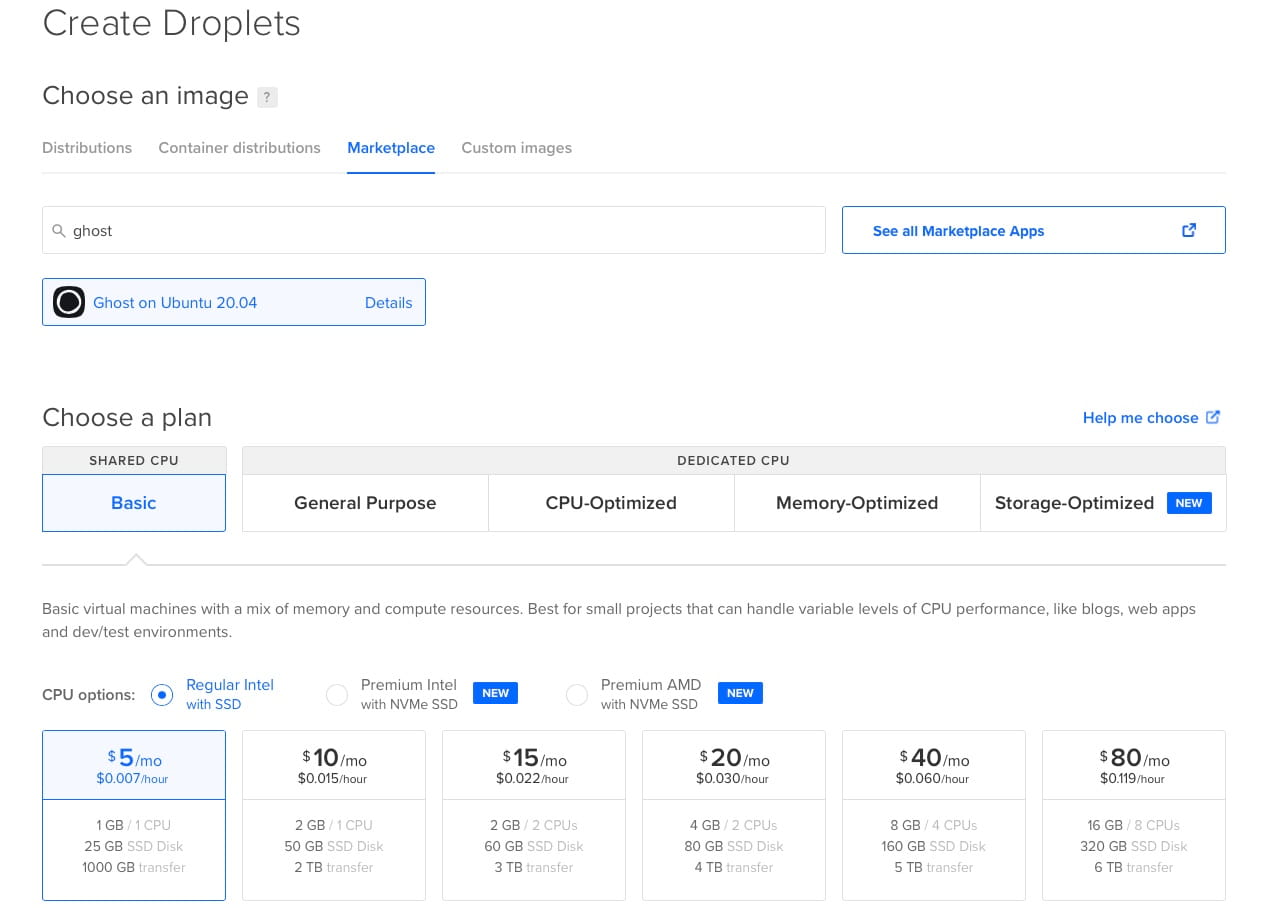
On the next page, we change to Marketplace, type "Ghost" in the search bar and select Ghost on Ubuntu. For me and probably every other starter, we choose Shared CPU - Basic, switch to Regular Intel with SSD and select the smallest possible option for $5 per month.
Scrolling down we select the datacenter region that fits our geographic region of interest best, setting our root password (remember to safe it in 1Password ) and choose a hostname. Finally, we can hit Create Droplet. Now the droplet is created for us. While waiting, I might grab a coffee …
hold on, that was pretty fast.

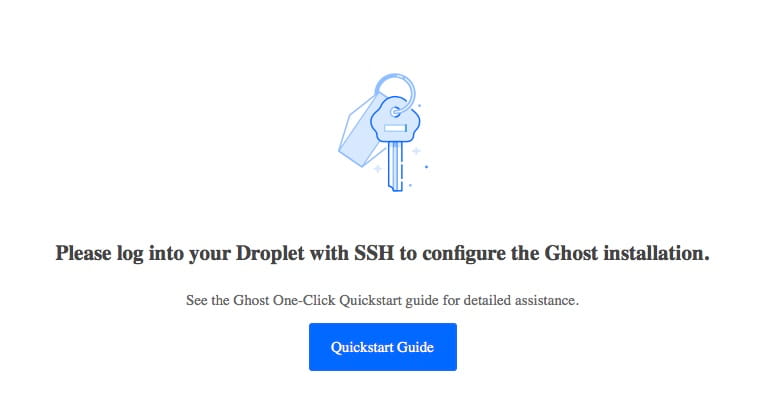
To check if everything worked so far, we can grab the IP address and open it in another browser window. We should see something like this.
So far, everything was pretty straight forward. Now we need a registered domain name to finish completing the Ghost setup. First, we need to add a domain to the droplet. To do so, we select "Add a domain" from the droplet drop down menu and enter our domain name.


After that we need to update our nameserver with our domain registrar for the records to take effect. This may vary, depending on the registrar you use. My registrar of choice is Cloudflare . Log in to your registrar, look for the DNS-Setting and add an A record to the droplet’s IP address.
After the domain and DNS records are all set up, we need to log into the Ghost Droplet to complete the setup process. From a terminal on our local computer, connect to the droplet via ssh as root. Make sure to change the IP address to match your droplet.
ssh root@use_your_droplet_ip
As soon as we log in using our previously created root password, the droplet will automatically make sure it’s running the most recent version of Ghost, and will prompt us to press ENTER to finalize the setup. We need to follow the installation prompts to configure Ghost.
After the setup process is done, we immediately need to configure the admin user using the administrative interface at http://use_your_droplet_ip/ghost/. Until we configure the admin user, anyone who discovers the site can configure the administrative user and take control of the site.
Done. We have now successfully set up a blog using Ghost on DigitalOcean .
In the upcoming posts we will be looking into configuring Ghost, changing the theme, posting our first article and probably much more, so stay tuned and if you liked this setup guide give me a shout-out.
"Do one thing every day that scares you."
Eleanor Roosevelt

